Bare-metal to local Docker registry and volumes
Internet speed is the top-priority for our server.
We already experienced in the past slow internet speed on Arbutus
that caused us a lot of issues, specifically on the environment building phase.
The binderhub was stuck at the building phase, trying in vain to pull images from docker.io to our server.
Note
When the notebook was successfully created, slow internet is not an issue anymore because the interaction between the user and the binder instance is not demanding.
Among many ideas, one of them that came up pretty quickly was to simply create our own local docker registry on arbutus. This would allow for low latency when pulling the images from the registry (connected to the local network where the binderhub resides).
The following documentation explains how we built our own docker registry on Arbutus, it is intended for developers who want to spawn a new Binderhub on another openstack host.
It contains also instructions on how to create volumes on openstack (for the Repo2Data databases) and attach them to the docker registry.
Note
It is still not the case, but in the future we expect the docker registry spawning to be part of the terrafrom configurations.
Instance spawning
The first thing to do is to create a new instance on Arbutus using openstack.
It provides a graphical interface to interact with our openstack project from computecanada.
You will first need to log-in into the openstack dashboard.
Note
You can request the password to any infrastructure admin if authorized.
Now you can spawn a new instance under Compute/Instances with the Launch Instance button.

A new window will appear where you can describe the instance you want, the following fields are mandatories:
Instance Name: name of the instance, choose whatever you wantSource: OS image name used by the instance, select*Bionic-x64*Flavor: hardware configuration of the instance,c8-30gb-186is more than enoughKey Pair: list of the public ssh keys that will be allowed on the server, find the one that match the binderhub you created in Bare-metal to BinderHub
Click on Launch instance at the bottom when you finished.
External floating IP
To access the instance from the outside, we need a public floating IP pointing to the instance.
If you don’t already have one, you can allocate a new IP under Network/Floating IPs and by clicking to Allocate IP To Project.
When it is done, click on the right of the instance under Compute/Instances to associate this new floating IP.

Warning
You have a limited amount of floating IPs, so be careful before using one.
Firewall
Firewall rules will help you protect the instance against intruders and can be created on openstack via Security Groups.
Create a new
Security GroupunderNetwork/Security Groups.Click on
Manage ruleson the right and create anIPV4rule for allIP ProtocolandPort Range, with aRemote CIDRfrom your local network.For example, if the internal
IP addressfrom your instances is in the range192.167.70.XX, theRemote CIDRwould be192.167.70.0/24.Note
Using a
Remote CIDRinstead ofSecurity Groupcould be considered as unsafe. But in our case it is the easiest way to allow access, since all our binderhub instances uses the same private network.Enable also the ports
22 (SSH),80 (HTTP)and443 (HTTPS).Update the
Security GroupunderCompute/Instances, and click on the right to selectEdit Security Groups.
You should now have ssh access for the ubuntu user on the instance
ssh ubuntu@<floating_ip>
Warning
If you cannot access the instance at this time, you should double check the public key and/or the firewall rules. It is also possible you hit some limit rate from compute canada, so retry later.
DNS specific considerations
We will need to secure the Docker registry through HTTPS to use it with Binderhub, it is not possible otherwise.
The Cloudflare DNS will defined the registry domain and provide the TLS certificate for us.
Log-in to cloudflare
Note
You can request the password to any infrastructure admin if authorized.
Under the
DNStab, you have the option to create a new record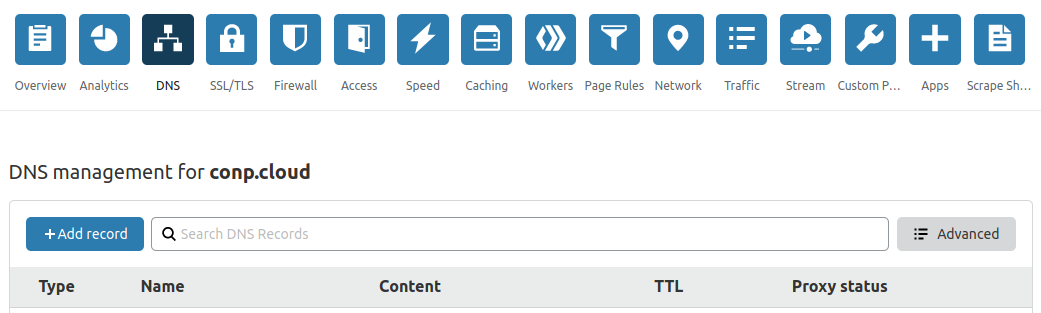
Create an
Arecord with a custom sub-domain, and theIPV4address pointing to the floating IP from External floating IP.
Volumes creation
One feature of Neurolibre is to provide database access to the users of the Binderhub, through user predefined Repo2Data requirement file.
These databases are stored into a specific volume on the Docker registry instance.
In the same time, another specific volume contains all the docker images for the registry.
These volumes will be created through openstack.
Go under
Volumes/VolumestabClick on
Create a Volumeand define the name of the volume and its storage sizeAttach this volume to the Docker registry instance by clicking on the right of the instance under
Compute/InstancesRepeat the process from (1) to (3) to create the Docker registry image volume
Once the volumes are created on openstack, we can ssh to the registry instance and mount the volumes:
Check that the volume(s) are indeed attached to the instance (should be
/dev/vdc):sudo fdisk -lNow we can configure the disk to use it,
sudo parted /dev/vdc
mklabel gpt
mkpart
(enter)
ext3
0%
100%
quit
Check that the partition appears (should be
/dev/vdc1):sudo fdisk -lFormat the partition,
sudo mkfs.ext3 /dev/vdc1Create a directory and mount the partition on it:
sudo mkdir /DATA
sudo chmod a+rwx /DATA
sudo mount /dev/vdc1 /DATA
Check if
/dev/vdc1is mounted on/DATARepeat all the steps from (1) to (6) for the Docker registry volume (name of directory would be
/docker-registry).
Docker registry setup
After ssh to the instance, install Docker on the machine by following the official documentation.
We will now secure the registry with a password.
Create a directory auth and a new user and password:
mkdir auth
sudo docker run --entrypoint htpasswd registry:2.7.0 -Bbn user password > auth/htpasswd
Create also a folder that hold the registry content (for easier backup):
sudo mkdir /docker-registry
After that you can launch the registry,
sudo docker run -d -p 80:80 --restart=always --name registry \
-v /docker-registry:/var/lib/registry \
-v /home/ubuntu/auth:/auth -e "REGISTRY_AUTH=htpasswd" \
-e "REGISTRY_AUTH_HTPASSWD_REALM=Registry Realm" \
-e REGISTRY_AUTH_HTPASSWD_PATH=/auth/htpasswd \
-e REGISTRY_HTTP_ADDR=0.0.0.0:80 \
-e REGISTRY_STORAGE_DELETE_ENABLED=true \
registry:2.7.0
Warning
/docker-registry is the Docker registry volume that we configured in Volumes creation.
Now the registry should be running, follow this documentation to test it.
You can try it on your machine (or another instance).
You would first need to log-in to the Docker registry using the domain name you configure my-binder-registry.conp.cloud in DNS specific considerations:
sudo docker login my-binder-registry.conp.cloud --username user --password password
sudo docker pull ubuntu:16.04
sudo docker tag ubuntu:16.04 my-binder-registry.conp.cloud/my-ubuntu
sudo docker push my-binder-registry.conp.cloud/my-ubuntu
Note
The Docker registry can be accessed through its HTTP api. This is how you can delete images from the registry for example.
BinderHub considerations
On each k8s node (including the worker), you will also need to log-in.
You may also need to add the docker config to the kubelet lib, so the docker registry
is properly configured on you kubernetes cluster.
sudo docker login my-binder-registry.conp.cloud --username user --password password
cp /home/${admin_user}/.docker/config.json /var/lib/kubelet/